
There’s nothing like the smell of a chicken stock simmering on a frigid winter day. I stock the freezer with leftover chicken bones just for the winter months. Throw in a loaf of bread baking in the oven and you’ve just described my favorite meal.
Broth versus Stock: what’s the difference? It’s actually the presence or absence of meat. Stock consists of only the bones without the meat. Broth has the meat. Both can have herbs and spices or be plain.
Make this your own. For those looking for a reduced salt stock can easily omit or lower the salt content without skimping on quality. Like a lighter stock? Cook the bones for less time and omit the vegetables/herbs. Like a more flavorful, robust stock? (who doesn’t?!) Cook the bones longer, adding more vegetables/herbs. Get creative with your additions too. Parsnips, peppercorns and other herbs and vegetables can easily contribute more flavor. This is a great time to use up any broken bits of bay leaves that you have. I would avoid any starchy additions such as potatoes.
Store preserved stock for 12+ months. Lid and jar manufacturers recommend 12-18 months, but we’ve been enjoying goodies from previous harvests, some going on 4 years now, without any change in quality.
However, I must mention that water bath canning is also possible, even though every resource online will warn against it. My neighbor has a different approach to her food preservation in that she water bath cans everything. Absolutely everything. Being a member of the Old-Order Amish community, with a large family who grow much of their own food, including meat, and lacking refrigeration, means most food has to be put up in a shelf-stable way. Which could pose a challenge when you are terrified of pressure canners, as she is. So, her way of preserving low-acidic foods that require a pressure canner is to water bath can them for 2 hours or more.
I myself was forced to try it when one of my chaos-makers broke my pressure canner lid in the midst of garden harvest. Of course the garden didn’t slow down and not wanting to waste the first picking, I water bath canned low-acidic vegetables. It’s been more than 6 months since then, we’ve eaten 2 of those jars, and I can attest that it works!

Chicken Stock
Ingredients
- 1 chicken carcass majority of meat picked from the bones
- 1 tbsp salt
- 2-3 bay leaves
- 1 cup celery, carrot, onion scraps, rosemary, basil, parsley or other herbs/vegetables of choice optional
Instructions
- Place all of the ingredients into a large stockpot.

- Cover with water, approximately 8 quarts. Bring up to a boil.
- Reduce heat to maintain a gentle simmer with the lid covered. Simmer for 3 hours or more. I usually aim for 3-5 hours on a low heat.

- Remove from heat and allow to cool down somewhat. If you see any fat rise to the top, be sure to skim it off. Strain everything through a fine mesh strainer. Can also use cheesecloth, which will help strain off extra fat as well.
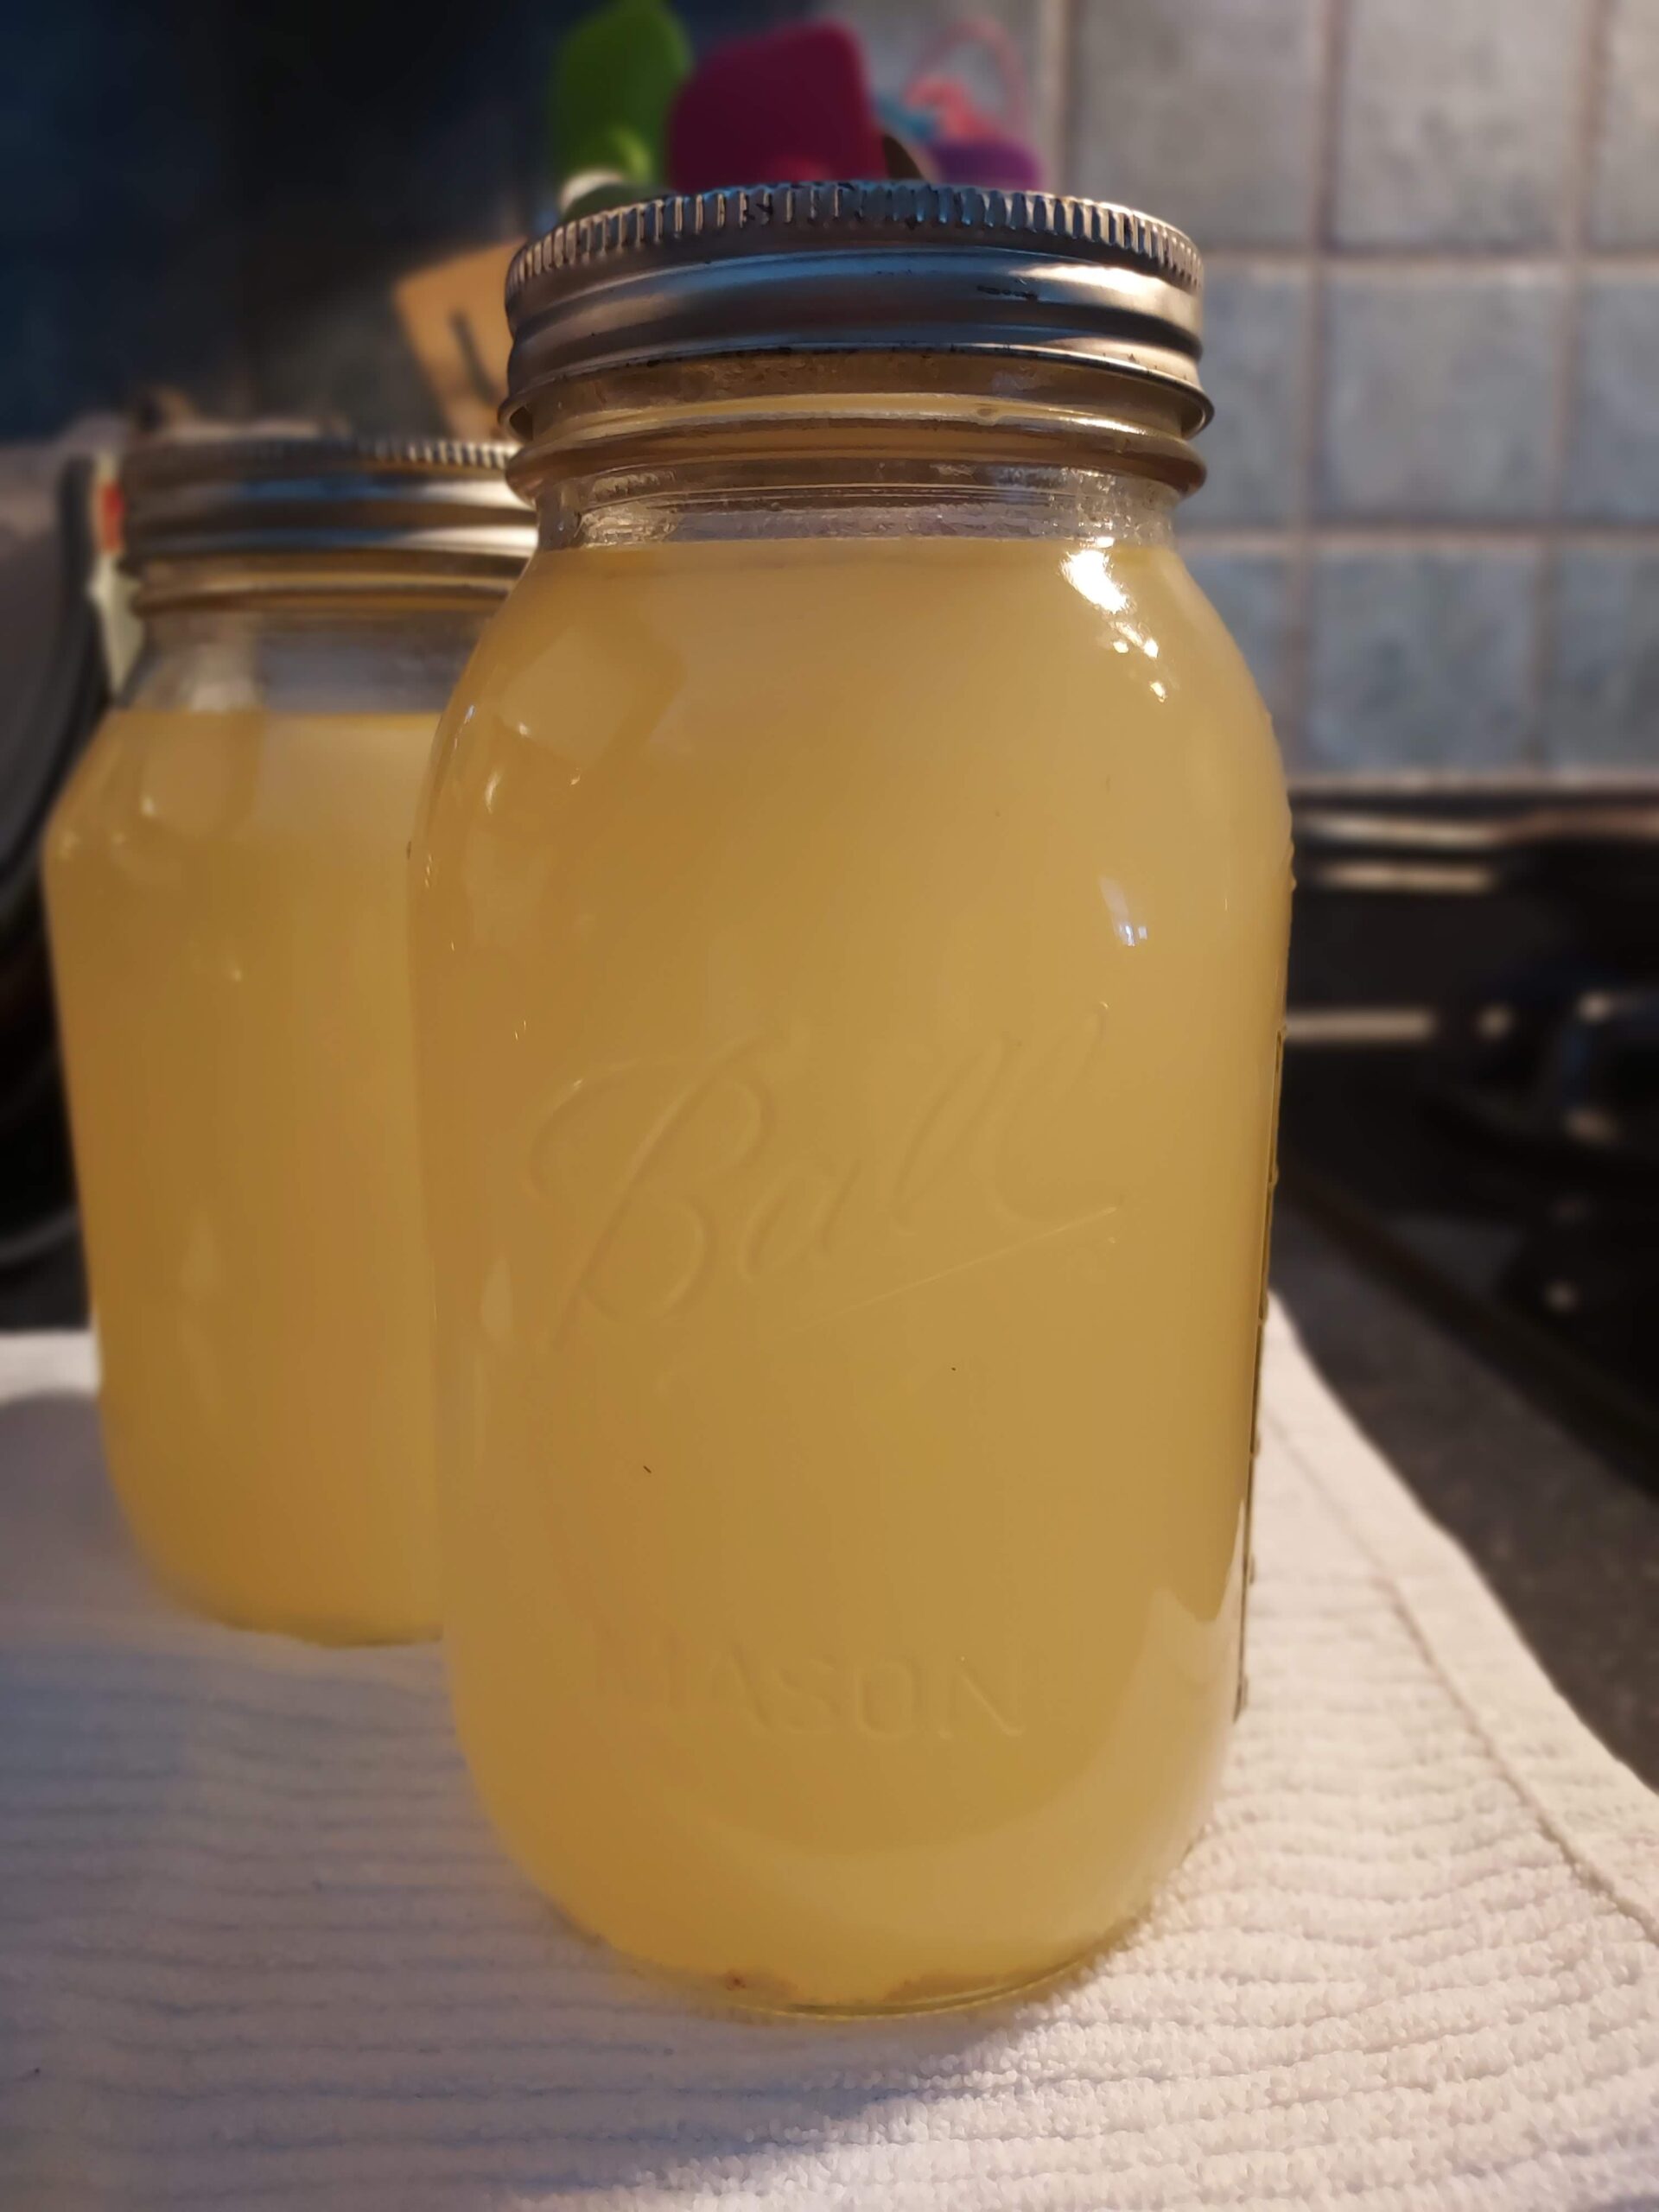
- At this point, your broth is ready to eat or be preserved for a later use. My favorite method is to can it, making it shelf-stable. Freezing is also an option- just be sure to leave a little room in the bag for expansion in the freezer. If freezing, use within 6 months. If storing in the fridge, use within a week.
- To can, prepare pressure canner. Pour hot broth into prepared jars. Wipe the rims, place the lids and finger tighten the rings. Place into the canner.
- Secure the canner lid. Turn the heat up to medium-high. Allow steam to vent for 10 minutes before adding the weight. Once pressure has been built up to 10lbs, start timing.
- Pints- process for 20 minutes.Quarts – process for 25 minutes.*At sea level. Adjust for higher elevations.
- Turn off the heat and don't touch or release any pressure. Allow the canner to depressurize naturally. Once it is safe to do so, remove the canner lid, remove the jars and set on the counter, in a draft-free area, on a towel to cool off. At some point soon you should hear the tell-tale "pop" of the lid sealing onto the jar.
- Once cooled completely, double check the tops to ensure a proper seal. Remove rings, rinse or wipe down jars, (don't forget to wash the rings too!), date the tops, then store.